This blog post we will look every aspect of PeopleSoft Integration Broker
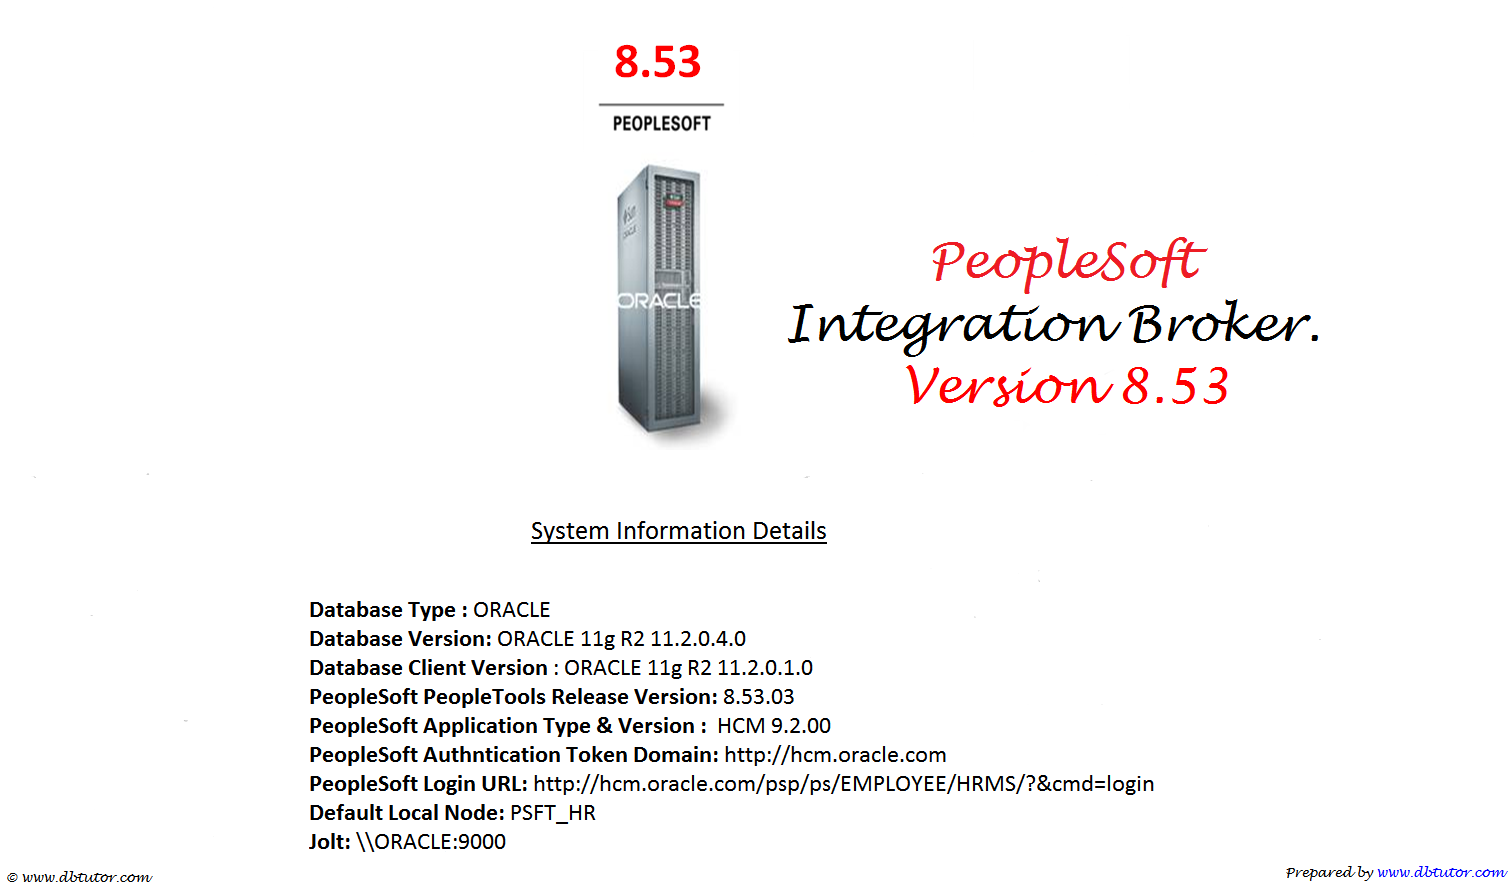
Guide to PeopleSoft Integration Broker 8.53
This Article Contains 6 Part
- Part 1 – Before Integration Broker Setup Modify the Application Server Configuration , Enable Pub / Sub Server ( This One )
- Part 2 – Fresh PIA Deploy via Command Line With Authentication Token Domain Options ( PeopleSoft Integration Broker Part – 2 )
- Part 2.1 – PIA Redeploy for Authentication Token Domain ( PeopleSoft Integration Broker Part – 2.1 )
- Part 3 – Integration Broker Setup through PeopleSoft Portal ( PeopleSoft Integration Broker Part – 3 )
- Part 4 – Third party software SoapUI Setup for Microsoft Windows ( PeopleSoft Integration Broker Part – 4 )
- Part 5 – Inbound Component Interface Based Web Services – Using PeopleSoft Message Catalog Component.( PeopleSoft Integration Broker Part – 5 )
- Part 5.1 – Inbound Component Interface Based Web Services – Using Using Delivered Component Interface. ( PeopleSoft Integration Broker Part – 5.1 )
- Part 6 – Consuming third Party Web service into PeopleSoft Systems. ( PeopleSoft Integration Broker Part 6 )
So Lets go.
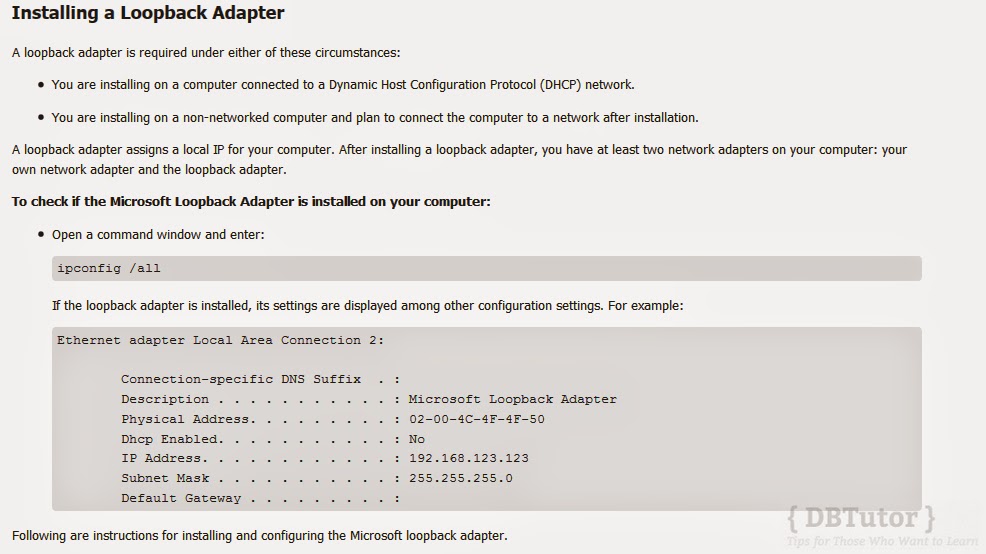
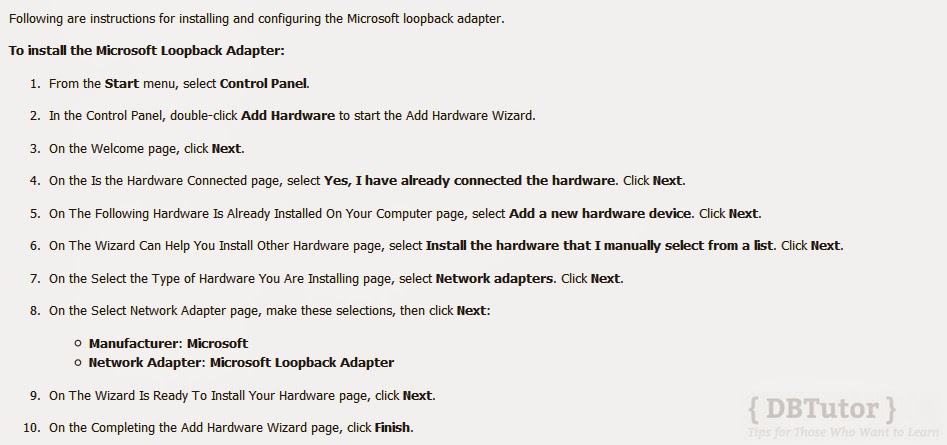
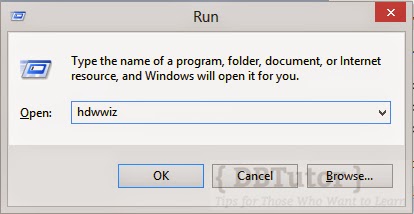
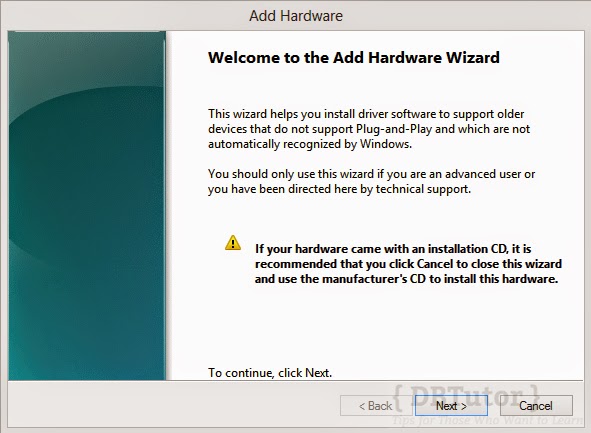
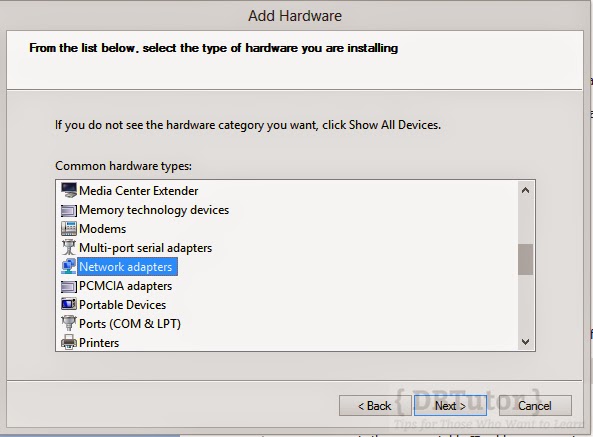
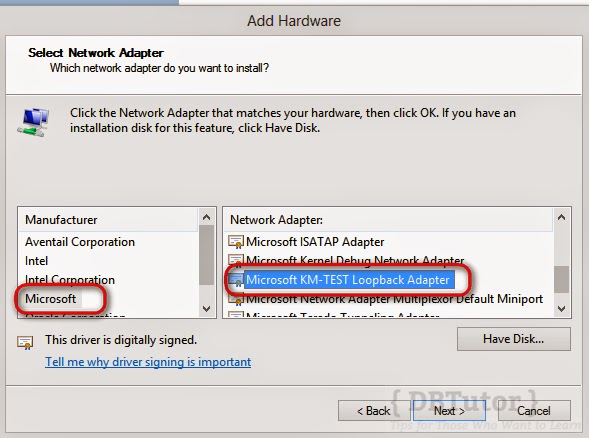
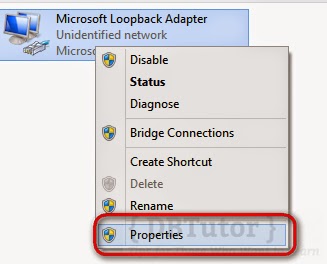
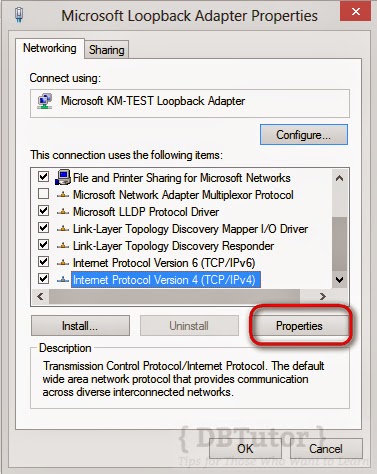
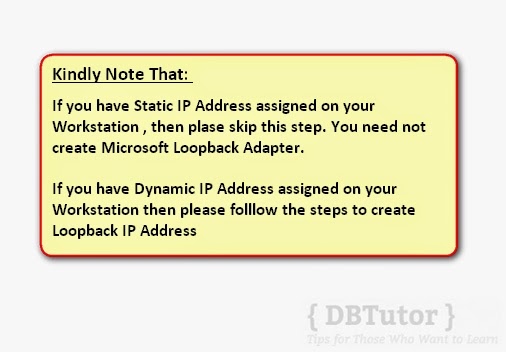
Before Installing Integration Broker I have shown How to use Static IP address on Loopback Adapter. As below screen shoots show if you have DHCP ( Dynamic Host / IP Address ) then you should follow the below step.In Most i am using internet dongle like, MTS , Vodafone this service provider always give you dynamic ip address , it may create problems on application server bootup.
If you are using Static IP then skip the Loopback adapter Installation & Configuration steps.
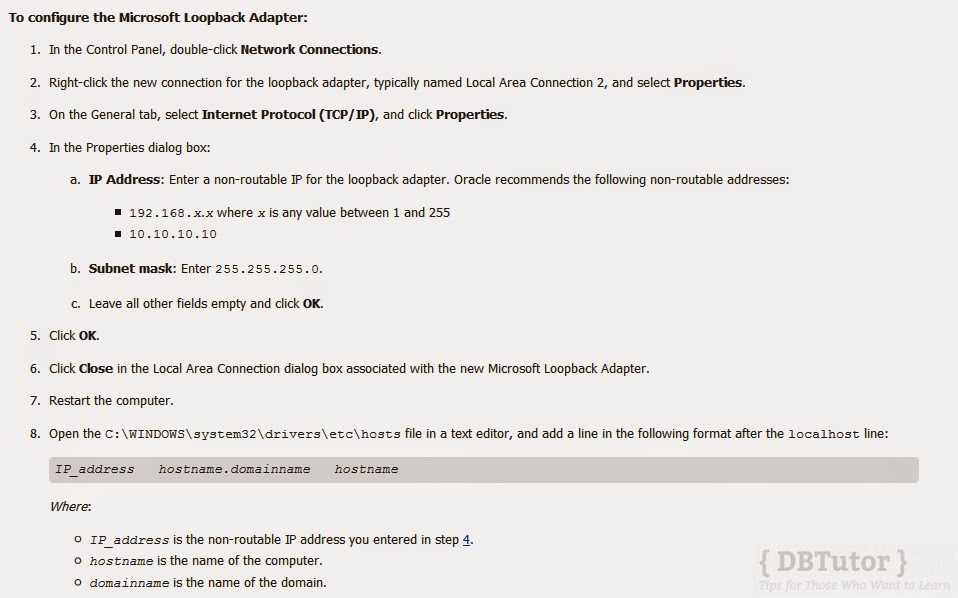
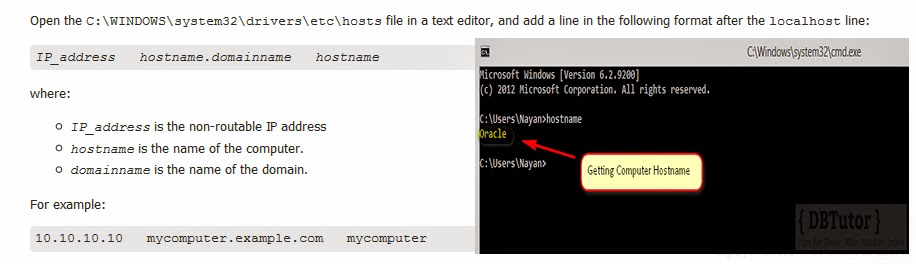


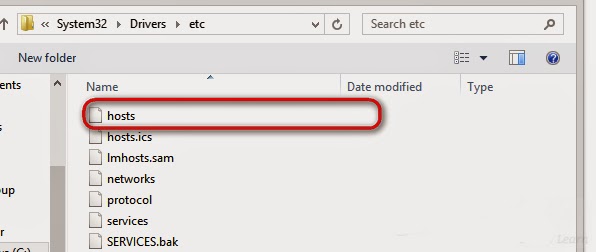
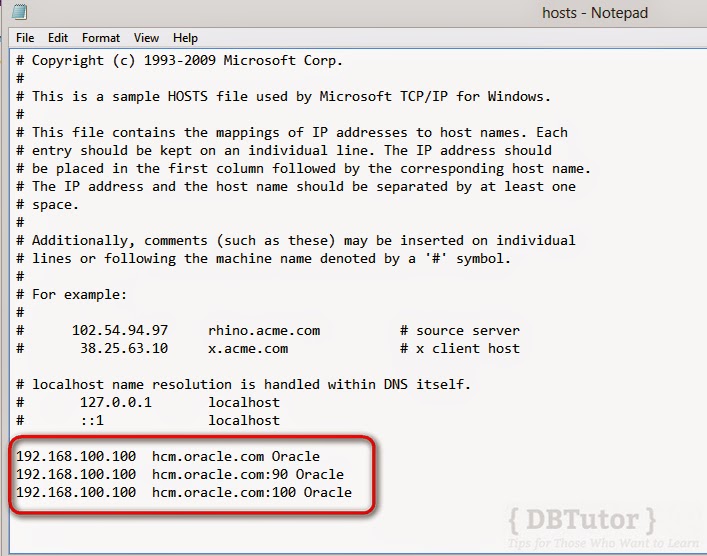
Host File Setup for static IP
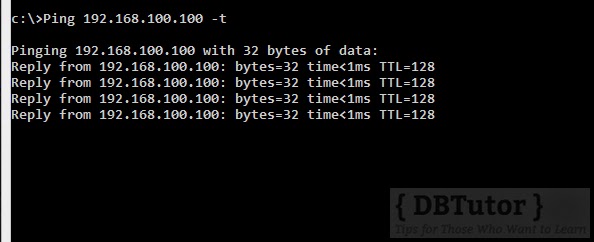
Ping test check.
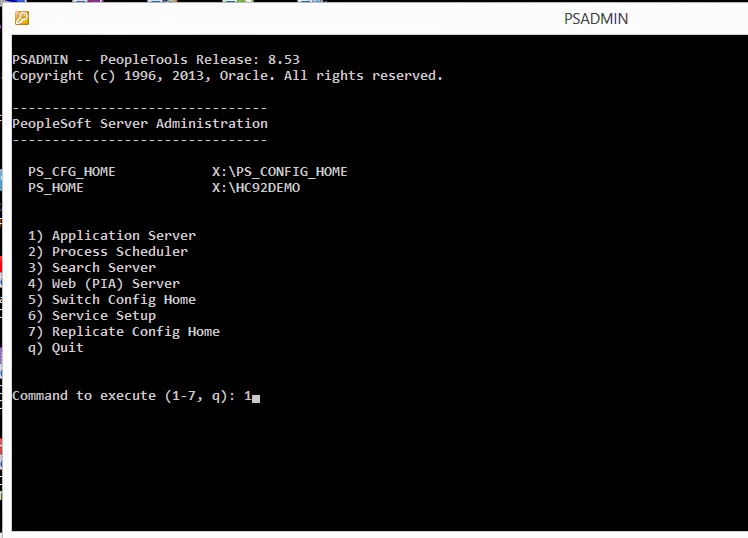
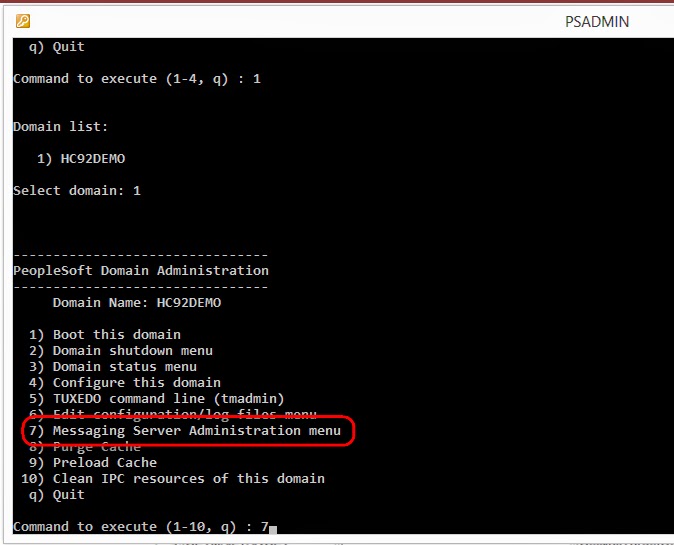
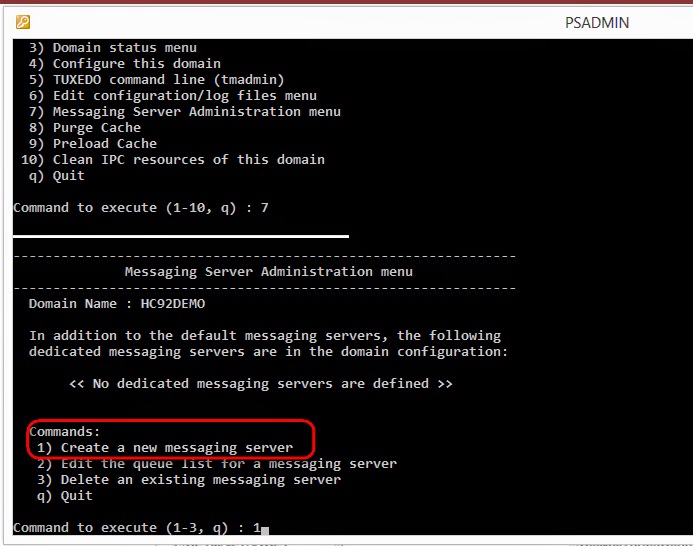
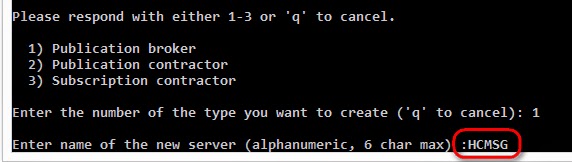
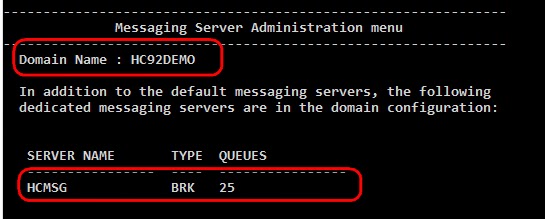
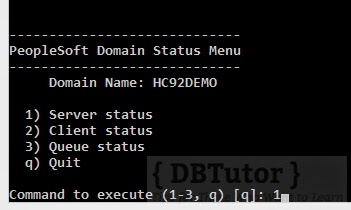
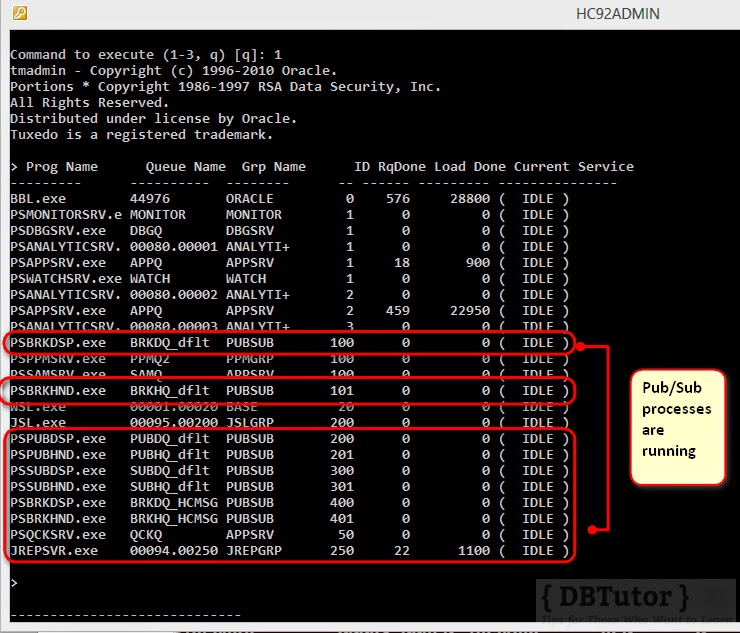
Now Application Server Modification for Integration Broker Setup


This Article Contains 6 Part
- Part 1 – Before Integration Broker Setup Modify the Application Server Configuration , Enable Pub / Sub Server ( This One )
- Part 2 – Fresh PIA Deploy via Command Line With Authentication Token Domain Options ( PeopleSoft Integration Broker Part – 2 )
- Part 2.1 – PIA Redeploy for Authentication Token Domain ( PeopleSoft Integration Broker Part – 2.1 )
- Part 3 – Integration Broker Setup through PeopleSoft Portal ( PeopleSoft Integration Broker Part – 3 )
- Part 4 – Third party software SoapUI Setup for Microsoft Windows ( PeopleSoft Integration Broker Part – 4 )
- Part 5 – Inbound Component Interface Based Web Services – Using PeopleSoft Message Catalog Component.( PeopleSoft Integration Broker Part – 5 )
- Part 5.1 – Inbound Component Interface Based Web Services – Using Using Delivered Component Interface. ( PeopleSoft Integration Broker Part – 5.1 )
- Part 6 – Consuming third Party Web service into PeopleSoft Systems. ( PeopleSoft Integration Broker Part 6 )
Hope this helps 🙂